Installing Unity3D
May 2013
Unity3D is a game development engine. It can be used to create both 3D and 2D games. Best of all they have a free version! You can script in Javascript, Boo or C#. I will be using C#. The large online community helps when you have a question.
Step 1:
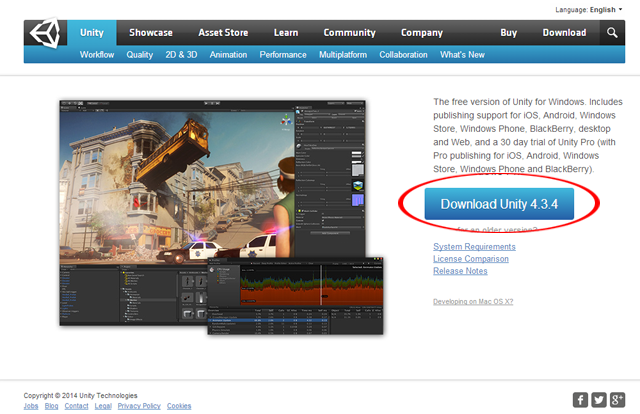
First we will need to download the newest version here. Which happens to be 4.3.4 at the time of this post.
Step 2:
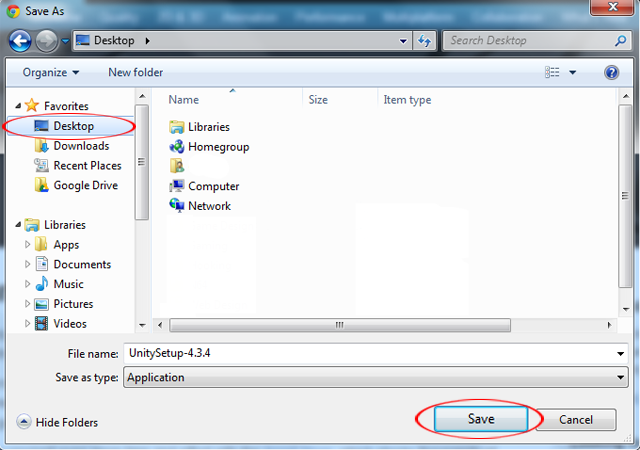
Make sure you save it to a location you can easily find. I typically save installation files directly to my desktop.
Step 3:
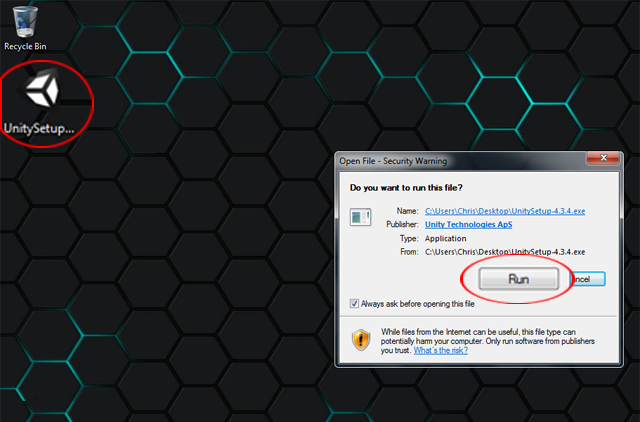
Once the download is finished it’s time to run the installer. Go to where you saved the installer.
Step 4:
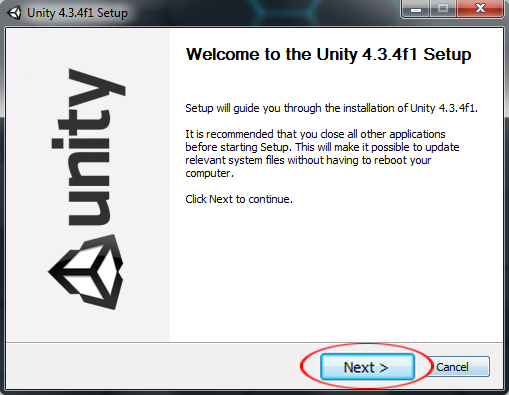
The first screen is the installer’s welcome screen. We just need to hit next.
Step 5:
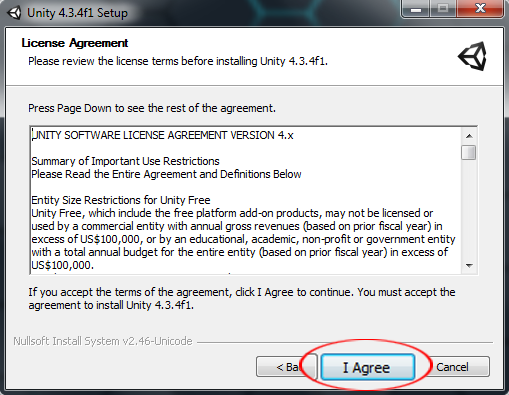
Now we the the license agreement screen. I know people don't always read these, but I recommend reading every agreement you come across. If you do agree, click the highlighted button to continue the installation.
Step 6:
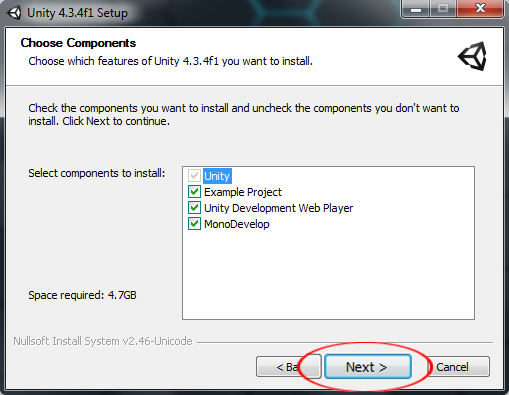
Time to choose what you want installed. I like to install all my options, so I’ve checked them all here. After you know what you want to install click next
Step 7:
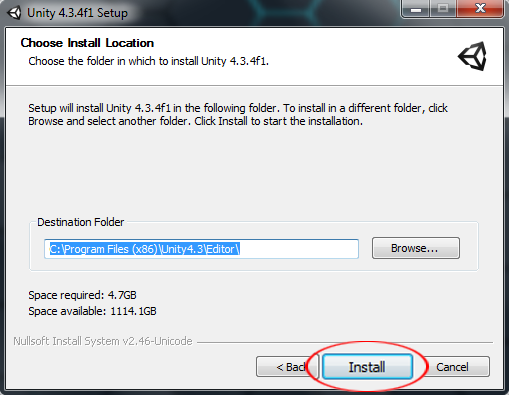
Now you can tell Unity3D where to install. I just went ahead with the default option. Just have to click install.
Step 8:
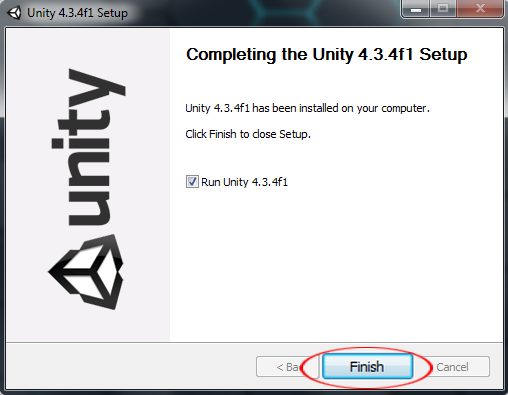
We’re all done! If you want to run Unity3D when you’re finished just keep the checkbox marked.
Next: Installing Krita (Coming soon!)
Previous: About Me and This Blog